

Since I'm a huge book lover this seemed like an easy and practical project for me. Plus I LOVE cameos. I went a little more creative with them I think and possibly a little over board with how many I did. Its such an easy project and you can get really creative with them.
I made a point to put something on each end of the ribbon. That way it has some weight on both ends.


I used several different ribbon colors to coordinate with the pendants. I also used two different types of velvet ribbons. I used velvet because it stays stiffer then regular ribbon and it doesn't slip right out of the book.


I made one for my friend Sarah and one for my Mom. Sarah is very much into skulls and dark colors, so it was a good mix. Mom's is more mellow, but with a color she loves. They both have been using them, so that makes me feel really good.


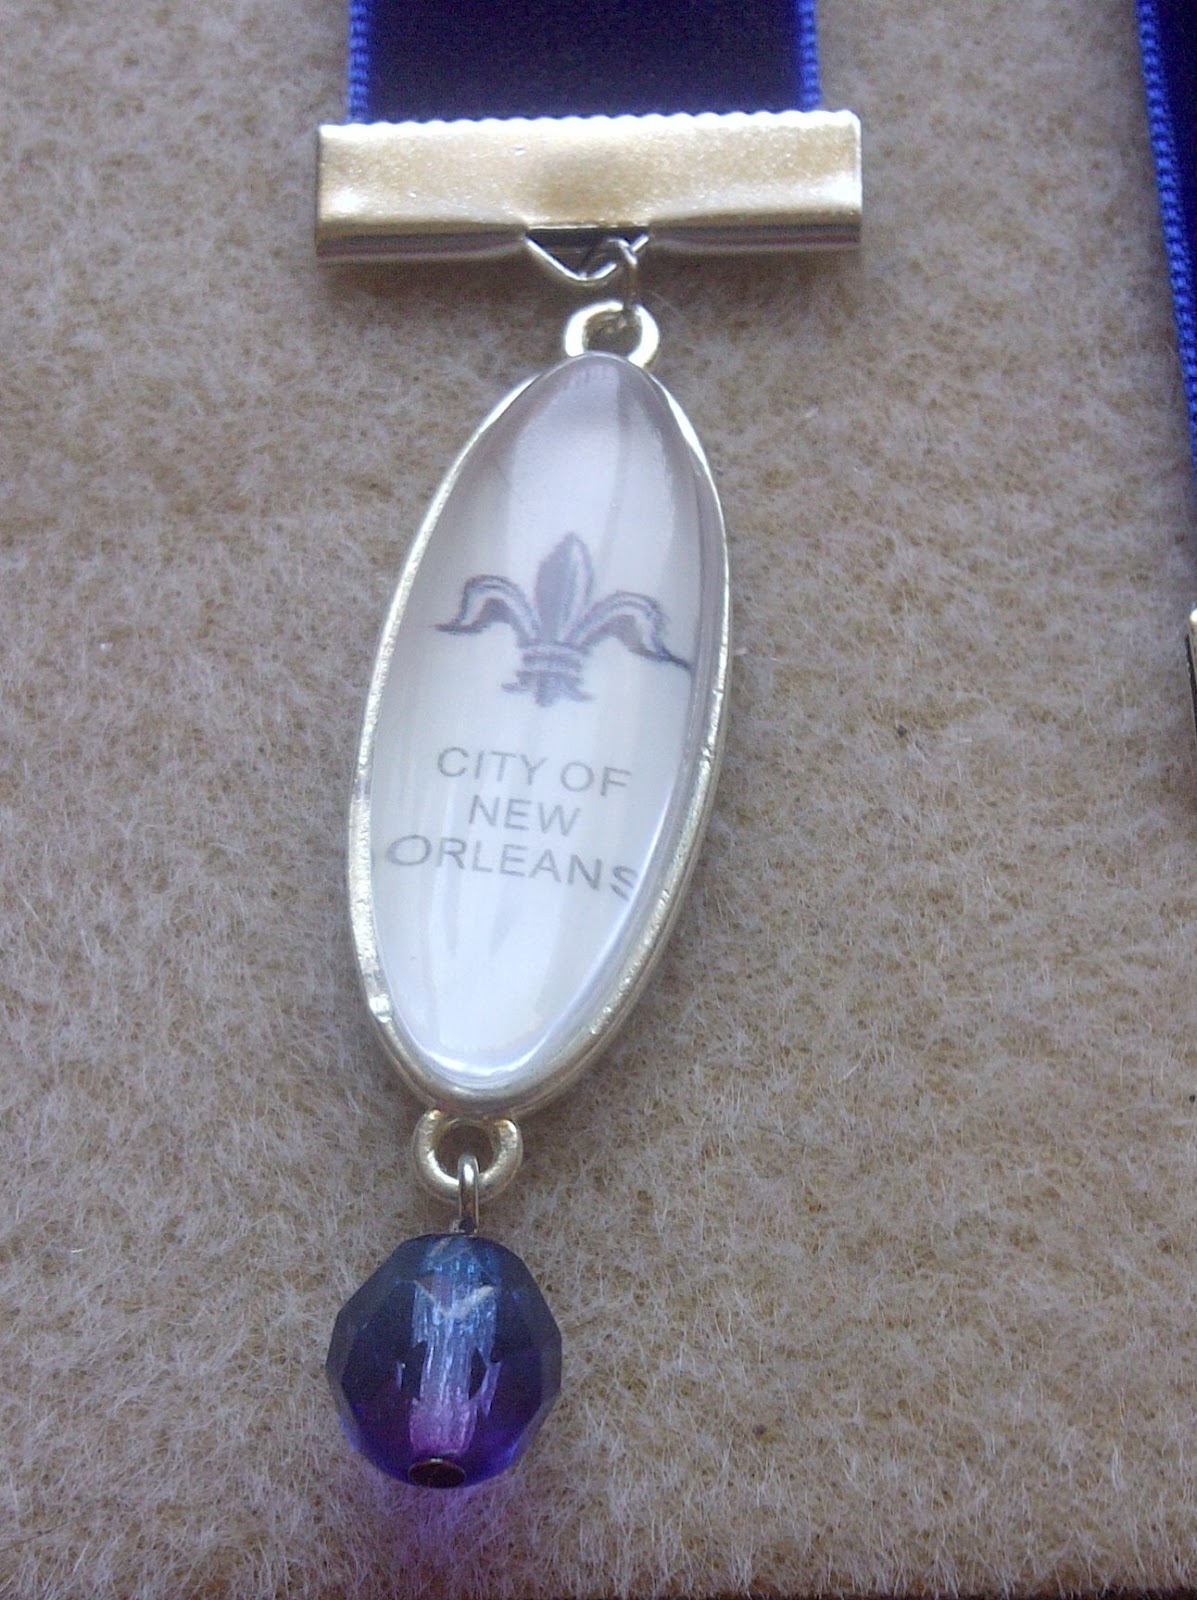
Ever since I decorated my bedroom in a very Victorian, vintage, french theme I have had a love of fleur-de-lis and very vintage looks. I did a they with that in mind. Also fleur-de-lis remind me of royalty from the medieval times, so there are a few with that theme in mind.


In the middle of making several of these bookmarks I realized that I could use these as birthday or Christmas gifts. I made a couple that I think I will give to my cousins, as they enjoy reading as much as me.


These are also a great way to use up some extra supplies you might have that you aren't entirely sure what to do with. I did that with a couple. Even made one to use during Christmas time.


I even got to try out making a flower petal pendant. It turned out pretty well.
In the process of making several of these bookmarks our cat Grace wanted to help and then that need turned to a need to be loved. This lead to her rubbing on my hands and pushing things a side until she could get spread out completely on my work desk.

Once she was satisfied that I had petted her enough to her content she allowed me to finish my projects. Granted it didn't stop her from trying to attach several of the bookmarks.

It could be possible that I'm one of the only people who do this... but I read several books at one time. I have a book at work; which I am using the flower petal bookmark with. There is a book I read before going to bed and I am using the light purple fleur-de-lis bookmark. I also have a book that I read just whenever I get bored doing something else, which is the book pictured above.
Reading helps to relax me. It informs me and allows me to be apart of another world. I would highly suggest reading to anyone. Reading is good for you and strengthens your mind. These bookmarks are a lovely and easy project to give a little extra personality to your chosen book.
The steps for this project can vary given the supplies you pick, and I'll explain both ways.
First: store purcased ribbons
Some stores (example: Michaels, Hobby Lobby) that sell ribbon strips that come with the ribbon clamps already on both ends.
If you use these type of ribbon, buy as many as you need color wise.
Jump rings to match the tone of the ribbon clamps.
Pendants you want to use.
Any pearls/gems you want to use.
Head pins to match same tone as jump rings.
Needle nose pliers
Wire cutters
Round nose pliers
Take your needle nose pliers to open the jump ring.
Slide the open jump ring into the hook at the end of the ribbon clamp at the end of the ribbon.
Then slide the pendant onto the other end of the open jump ring.
Use the needle nose pliers to close the jump ring.
This will be all you need for this end of the ribbon. (See picture)
(unless you would like to add more, then simply reopen the jump ring)
If you would like to add another pendant to the other end, simply follow the same directions for the other side. Be sure to pay attention to the direction the pendant on each end faces, or one might face the wrong way.
If you want to add a pearl/gem on the other end follow these steps.
Take a head pin and slide the pearl/gem on.
Use the round nose pliers to round out the end.
Cut the remaining head pin with the wire cutter.
*If you created a large enough loop at the end of the head pin you may connect the pearl/gem straigh to the end of the ribbon clamp instead of using the jump ring. (see picture)
Use the needle nose pliers to open a jump ring.
Slide the open jump ring onto the other end of the ribbon at the hook on the clamp.
Slide the rounded end of the head pin onto the open jump ring.
Use the needle nose pliers to close the jump ring.

Second: Making your own ribbon lengths.
Instead of using the store bought versions of ribbon you can make your own. This is helpful if you want to make ones that are specific for a book size. You get to make the length you want instead of the store bought one which is already at a specific length. (also the store bought ribbons tend to have creases from being on/in the packaging and ribbon on spools will not)
Ribbon spools in the colors you want.
Ribbon clamps
Jump rings to match the tone of the ribbon clamps.
Pendants you want to use.
Any pearls/gems you want to use.
Head pins to match same tone as jump rings.
Needle nose pliers
Flat nose pliers
Wire cutters
Round nose pliers
Measure out the length of ribbon you want and cut.
Hold the ribbon in place with one hand and with the other use the flat nose pliers to clamp down the ribbon clamp. (Best to clamp the sides in a little before hand, then slide the ribbon into place. Continue to clamp the sides down first to hold it in place.)
Take your needle nose pliers to open the jump ring.
Slide the open jump ring into the hook at the end of the ribbon clamp at the end of the ribbon.
Then slide the pendant onto the other end of the open jump ring.
Use the needle nose pliers to close the jump ring.
This will be all you need for this end of the ribbon. (See picture above of the pendant)
(unless you would like to add more, then simply reopen the jump ring)
Repeat this step for other end of ribbon:
Hold the ribbon in place with one hand and with the other use the flat nose pliers to clamp down the ribbon clamp. (Best to clamp the sides in a little before hand, then slide the ribbon into place. Continue to clamp the sides down first to hold it in place.)
If you would like to add another pendant to the other end, simply follow the same directions for the other side. Be sure to pay attention to the direction the pendant on each end faces, or one might face the wrong way.
If you want to add a pearl/gem on the other end follow these steps.
Take a head pin and slide the pearl/gem on.
Use the round nose pliers to round out the end.
Cut the remaining head pin with the wire cutter.
*If you created a large enough loop at the end of the head pin you may connect the pearl/gem straigh to the end of the ribbon clamp instead of using the jump ring. (see picture above of the pearl)
Use the needle nose pliers to open a jump ring.
Slide the open jump ring onto the other end of the ribbon at the hook on the clamp.
Slide the rounded end of the head pin onto the open jump ring.
Use the needle nose pliers to close the jump ring.
I hope you create some of your own lovely ribbon bookmarks!
No comments:
Post a Comment