Thursday, May 24, 2012

Face Lift

I have few magazine holders that are separated into interests; such as scrap booking, jewelry, knitting, and so on. I needed another one because I needed to make one just for jewelry magazines. (got too many to share a holder with another interest) I hunted in Office Depot, Target, and Walmart but I wasn't able to find one in the same (or slightly close) color as the other ones. I found a clearance one at Office Depot and figured I could just give it a face lift... so to speak.

While wondering around in Michaels you should make it a point to check out the section they always have for $2 to $1 items. I found a package of scrap booking paper that I thought would work well for this project and they were for only a $1. (Score!) I already had the Mod Podge, so I picked up a spray bottle of clear coat protector. (which goes with Mod Podge)

I cut up a soda box container and used that to work on. The scrap booking paper was a little too big, so I choose to cut them up into randomly sized pieces. I thought this gave it a more vintage collage look. I pinked a solid color for the back of the mag holder. I brushed on MP first and then put the piece of paper down. I went over the paper again with more MP to better seal it down. I placed the pieces in random directions all over the mag holder. (just not inside) Once I felt the MP had dried I took it outside and sprayed it with clear coat sealer. I did that three times; letting it dry for a full day between sprays. (This allows for better coating)

It turned out just how I wanted and its still looking great.


Pastel Bird

One of the other projects that I wanted to add to my bathroom design was actual birds. (not live ones) The same time I found the bird houses at Michaels I also found wooden birds. I'm going to put them on the counter and shelves, as well as hang them.

I had wanted to paint them like real birds, but real birds are not in pastel colors. They would stand out in darker colors, as would be required if I painted them more like actual birds. I found this out AFTER having done two in more realistic views.


Now the yellow bird can probably still work, as not all of its body is dark. The next one I did will work much better though. Its a very pretty light blue. I thought it seemed a little dull, so I added a few copper dots on its wings. Still works really well.


Talent Shared

This last Christmas my Father gave me a box full of stones, gems, pendants, and other random jewelry items. He got it at a yard sale. One of the pendants in the box was a painted rose gem stone. It was very well painted and in great detail.

I made a very simple necklace out of it, because I wanted the focus to be solely on the pendant.

I cut a length of ribbon and used two ribbon clamps to secure a lobster closure clip and a small length of chain to each end. It came out very pretty and I love it!


Shades of Color

I had a TON of crystal gem stones that came in strips of color combos. I had so many that I went on a bracelet frenzy. I even had the same color combos in small and regular crystals... as seen in these sets:


Now I am ALL for super easy projects. I make it a point to find things that are easier to make with and to use in general.
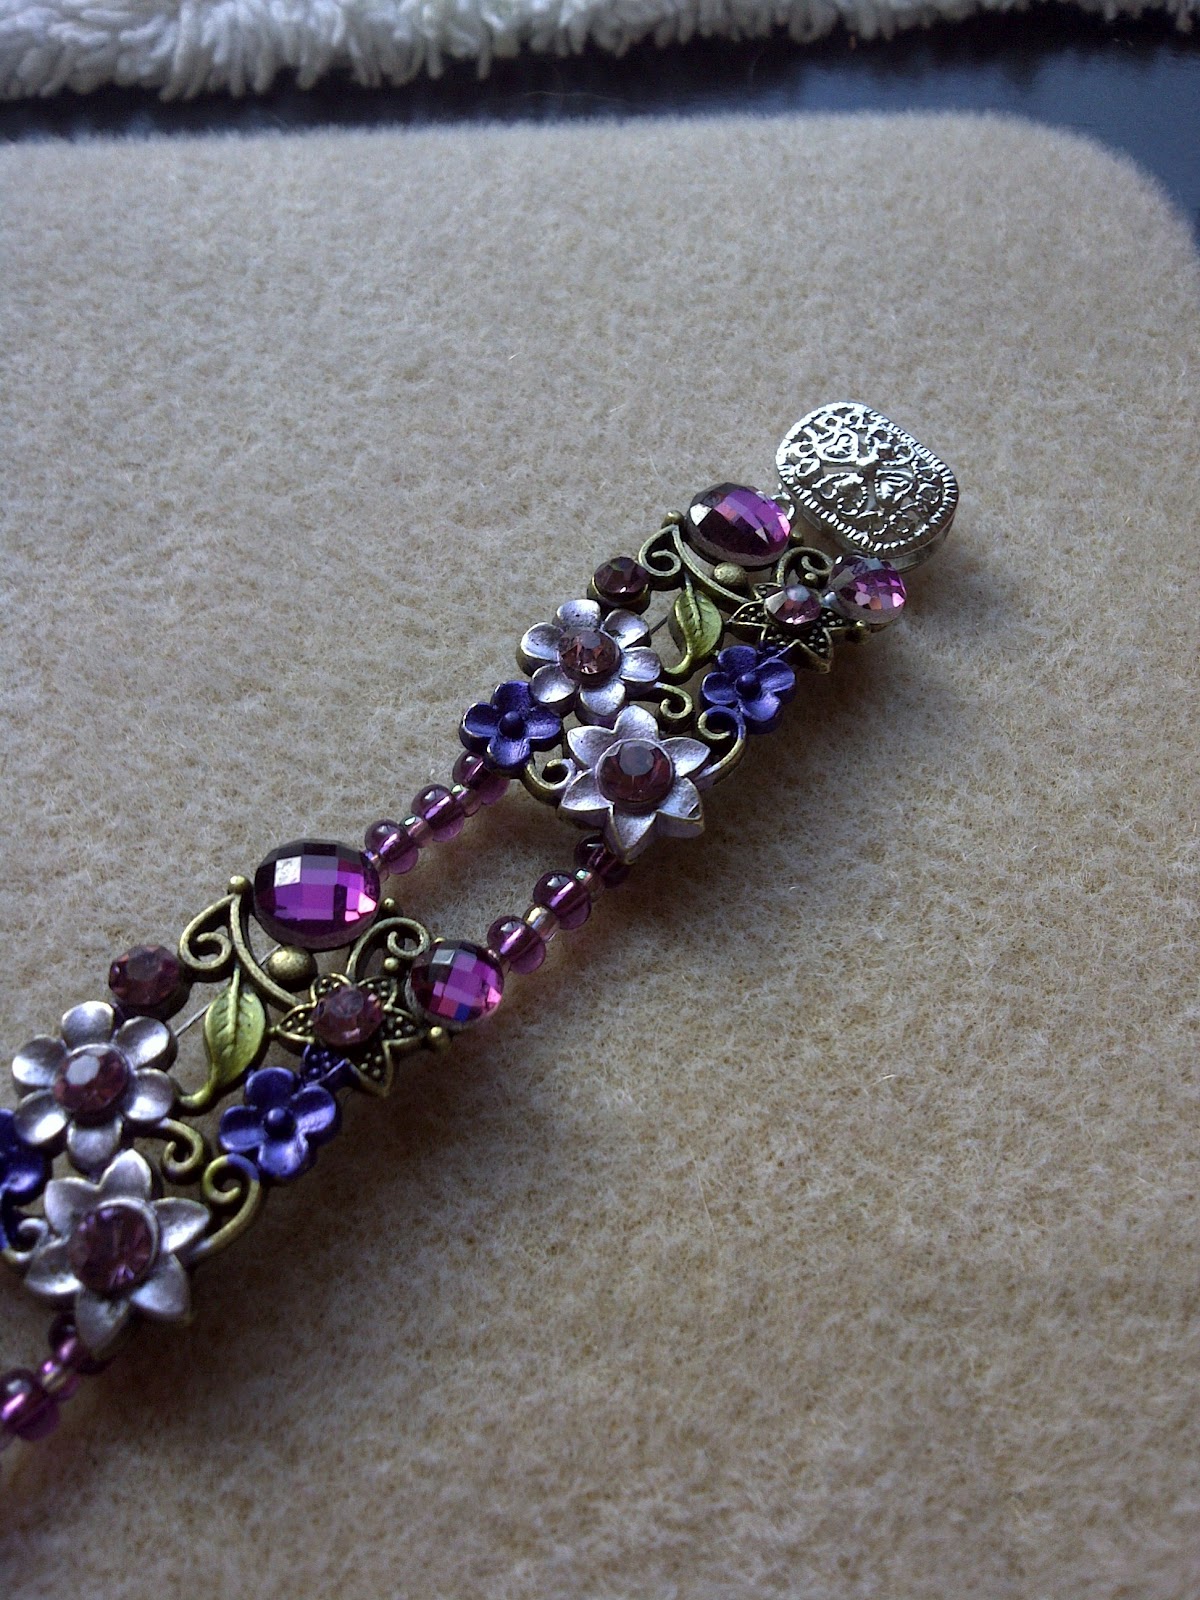
I love circle closures (like shown in the first picture). They are simple to string on when making the bracelet and they make it SO easy to put on. Magnetic closures are also very convenient to work with and put on. They are stronger than people think and make getting bracelets on ridiculously easy.
It seems to most people who make jewelry that they have an insane amount of supplies, and some things you aren't entirely sure what you had in mind when you bought them. I feel that way when it comes to seed beads. They are tiny and annoying. Plus I don't actually 'bead' anything with a needle and thread, which is what most sead beads are designed to be used in. I like to use them as spacer beads (as shown in both pictures). It keeps the crystal beads from rubbing against each other and breaking. I only get seed beads in standard colors and only get more when I only have like 3 left.

I use the standard rule of stringing when I make these bracelets. Very easy and basic.

Supplies:
-Crystal beads (set out in the pattern you want to string on)
-wire
-wire cutters
-clamps
-clamp pliers
-seed beads
-closure
-needle nose pliers

*Measure your wrist and cut wire about 5 inches longer than needed.
*Then find a clasp you like (in my case the circle closure clasp).
*Thread a clamp onto the wire; then the wire through the loop on the clasp and back through the clamp. (use the needle nose pliers to pull the loop tight)
*Press the clamp tight.
*Then thread the crystals and seed beads in the design order that you picked.
*Once you have gotten the length you need you need to slide on a clamp onto the wire and then wrap it around the loop of the clasp and finally back through the clamp.
*Squeeze the clamp closed.

Normally I end up with a few each beads (like 8 or 4) left over once I have reached my desired length. I use these to make earrings because its a very quick project that can use a small amount. This way I don't have to waste them. I try and make different types so it doesn't seem like all my bracelet/earring sets are the same. Some times I just feel like using the crystals for basic earrings and not a full set.


Most times however I like to use them all up and thats easiest done by making a bracelet. Hence why I have so many now....


Tuesday, May 22, 2012

Retro is New

Some things can be so easy that you don't even have to try to make it better. Like take this retro bracelet I made for my Mom.


I found it at Michaels as just a chain. This was beyond easy to make into a bracelet. I just added a clasp to one end and then measured it. I took out a length of chain at the end and attached a jump ring at the end. That was it!


Pendants can make it all.

My mom bought a green stone pendant at a yard sale and asked if I would make a necklace for it. I don't mind doing anything that's both for my mom and fun. Those are the best things to do.


Ironically I just so happen to have some stones that matched pretty well. I didn't want it to be just one color and one type of stone, so I found some metal spacer beads.


I had a few beads left so I felt that I should use them up. (I hate leaving two or three of something.) Mom likes hoops so that seemed easy to do. They look pretty good too. 


Copper Bracelet set

I have had this chain in my supplies and I wasn't sure what to do with it. I only had one and I wasn't even sure the store from which I purchased it. However when I took a closer look I thought it might make a better bracelet than anything else. Plus it was a good length...Actually it was the length needed to make it around my wrist, as well as make a pair of earrings.


Think it turned out really well. Some times the simplest things can surprise you in the greatest ways.

Tutorials on 'Bracket' Bracelets

Once I figured out how to make the bracket bracelets work... I started going a little nuts with them. I made several more for myself. I also wanted to make one from the same purple bracket that I made for Mom. I figured I would make mine with pearls instead of glass beads.


I also found a few more butterfly brackets in blue and purple.


I also found a few longer bracket designs that I like.


They are incredibly easy to make too. Let me tell you how:

Supplies:
-Bracket designs (make sure to pick up as many as you will need)
-wire
-wire cutters
-clamps
-clamp pliers
-glass beads
-seed beads
-closure
-needle nose pliers

*Measure your wrist and cut wire about 5 inches longer than needed; then do it again.
*Then find a clasp you like (in my case the two ring clasp).
*Thread a clamp onto the wire; then the wire through the loop on the clasp and back through the clamp. (use the needle nose pliers to pull the loop tight)
*Press the clamp tight.
*Repeat the clamp steps if you have a second loop (like I did).
*Then thread the beads in the design order that you picked. I did two or three before sliding a bracket on. This allows for a little movement and doesn't push the bracket up onto the clasp. (especially if you used a regular one loop clasp)
*Thread about 5 glass beads and 4 seed beads in between each glass bead. That allows for a decent amount of space between the brackets and shows a visual pattern. 
*Once you have gotten the length you need you need to slide on a clamp onto the wire and then wrap it around the loop of the clasp and finally back through the clamp.
*Squeeze the clamp closed.
*Repeat those steps if you have a second loop on your closure.


Monday, May 21, 2012

Gifts for the Mom of my world!

Been several days since Mother's Day, but I wanted to show you all what I made for the best mother in the world (to me).

Mom had commented several times at Michaels that she liked these "bracket" designs. I took that as a pretty good sign that she would like what I had in mind to make.

I made the purple one first. I used two different size and color beads to act as spacers in between.


I did 5 big beads and 4 small seed beads in between each bracket. Makes for a more detailed look.


The brackets require a two wires to keep them flat, so I used a two prong slide in clasp.

I also got another set of "bracket" designs that has butterflies on either side. They are gold and copper, which is mom's favorite color next to blue. I found two very good different types of copper toned beads for the in between spaces.


The beads work great with the brackets. The only bad part of the copper bracelet is the slide clasp doesn't come in any other color, so it stands out.

I think they both worked out great. Mom loved them, so that made my day... as well as hers.