I'm a little behind on doing my posts, so this particular topic will seem a bit past due. :P
I have some lovely friends that I work with and several of them happen to be lovely mothers too. Since Mother's Day was coming up and I wanted to do something for each of them, I thought of my jewelry.
Each girl had their own design, as they each have their own style!
This was for Janus. She is a bit more traditional to me, and more down to earth. I thought it was a good design to not be too girly, but still have a nice feel.
This was for Mendy who is a big fan of yellow and flowers. Thought it would be bright and lively, as she is both those things.
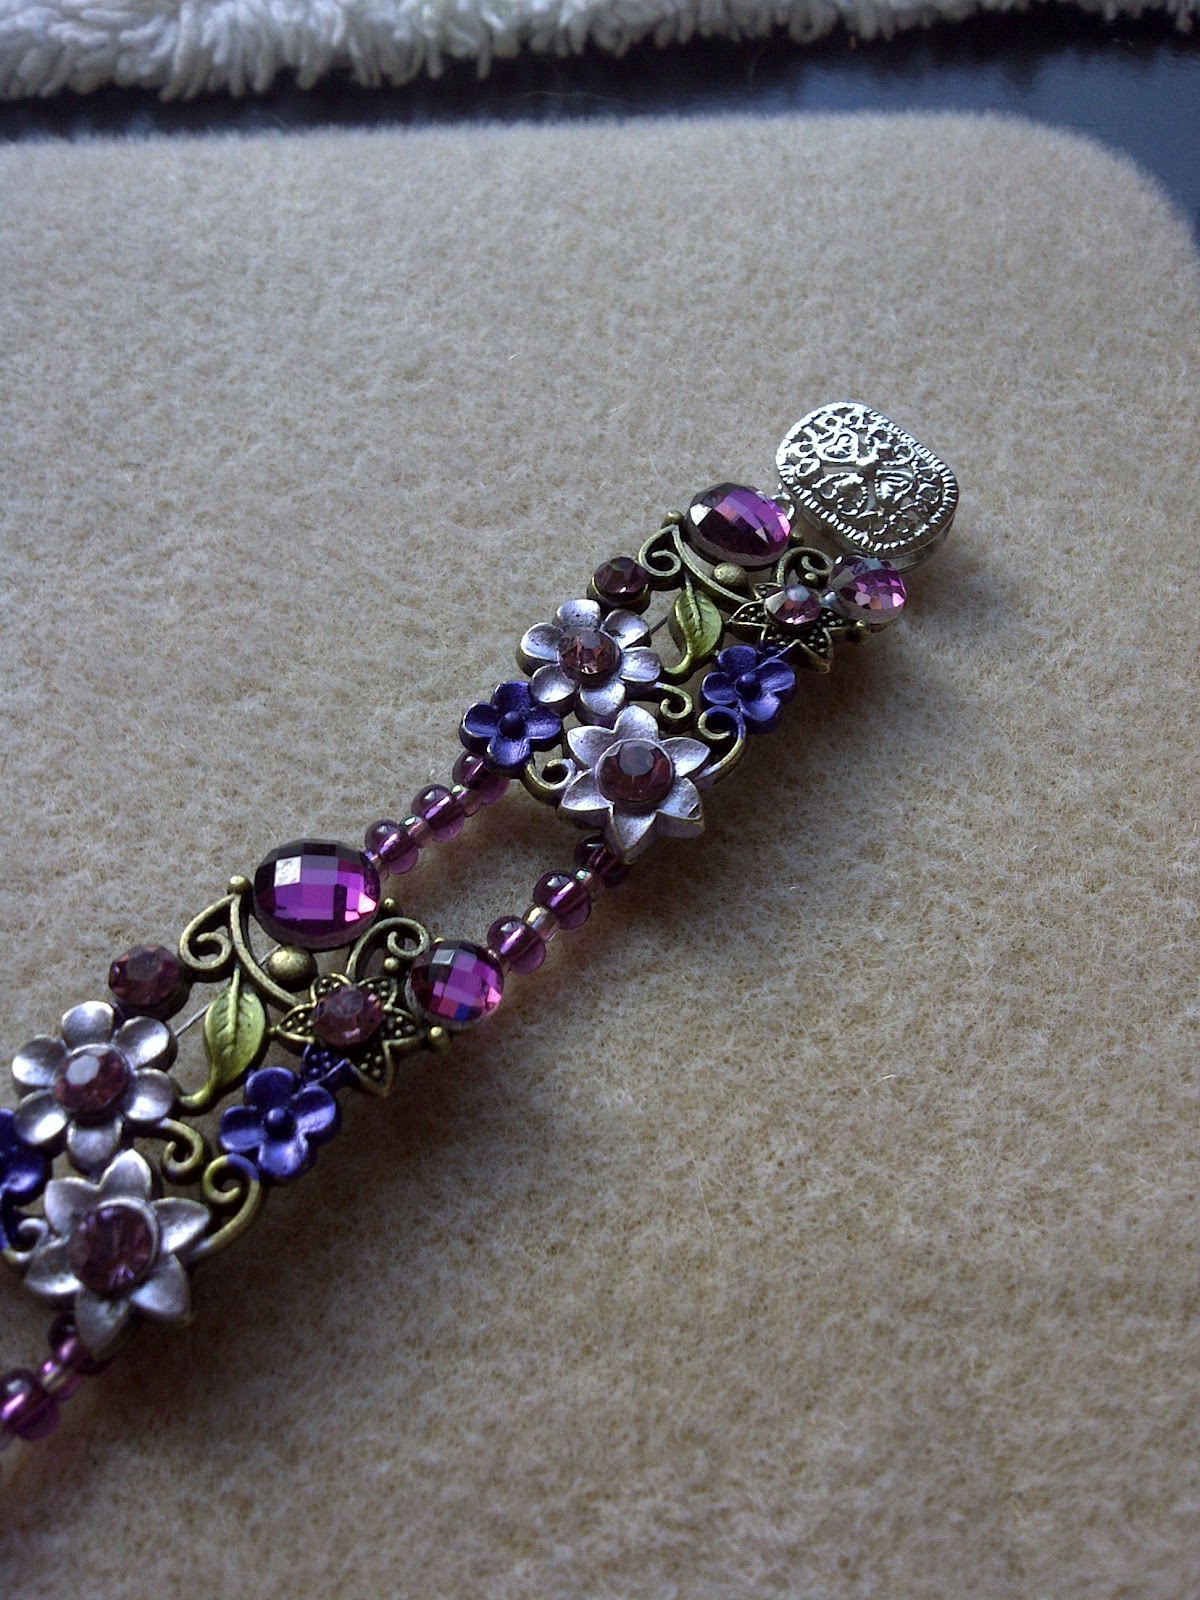
Tanya is a bit mellow (not by much), but very girly. I wanted to express both those ideas. Also she has a big love of purple, which I think fits her more mellow nature.
Jess is a very earthy themed lady. She likes vibrant colors and traditional looks. Great combo!
Each girl was very happy with their gifts. I just wanted to give a little bit of each back to them. Their personalities are so different, but mix so well together. I love it!
Showing posts with label gifts. Show all posts
Sunday, July 14, 2013
Wednesday, August 1, 2012
Keeping the page with style
I saw a project idea sheet at a Michael's craft store for some vintage looking bookmarks.
Since I'm a huge book lover this seemed like an easy and practical project for me. Plus I LOVE cameos. I went a little more creative with them I think and possibly a little over board with how many I did. Its such an easy project and you can get really creative with them.
I made a point to put something on each end of the ribbon. That way it has some weight on both ends.
I used several different ribbon colors to coordinate with the pendants. I also used two different types of velvet ribbons. I used velvet because it stays stiffer then regular ribbon and it doesn't slip right out of the book.
I made one for my friend Sarah and one for my Mom. Sarah is very much into skulls and dark colors, so it was a good mix. Mom's is more mellow, but with a color she loves. They both have been using them, so that makes me feel really good.
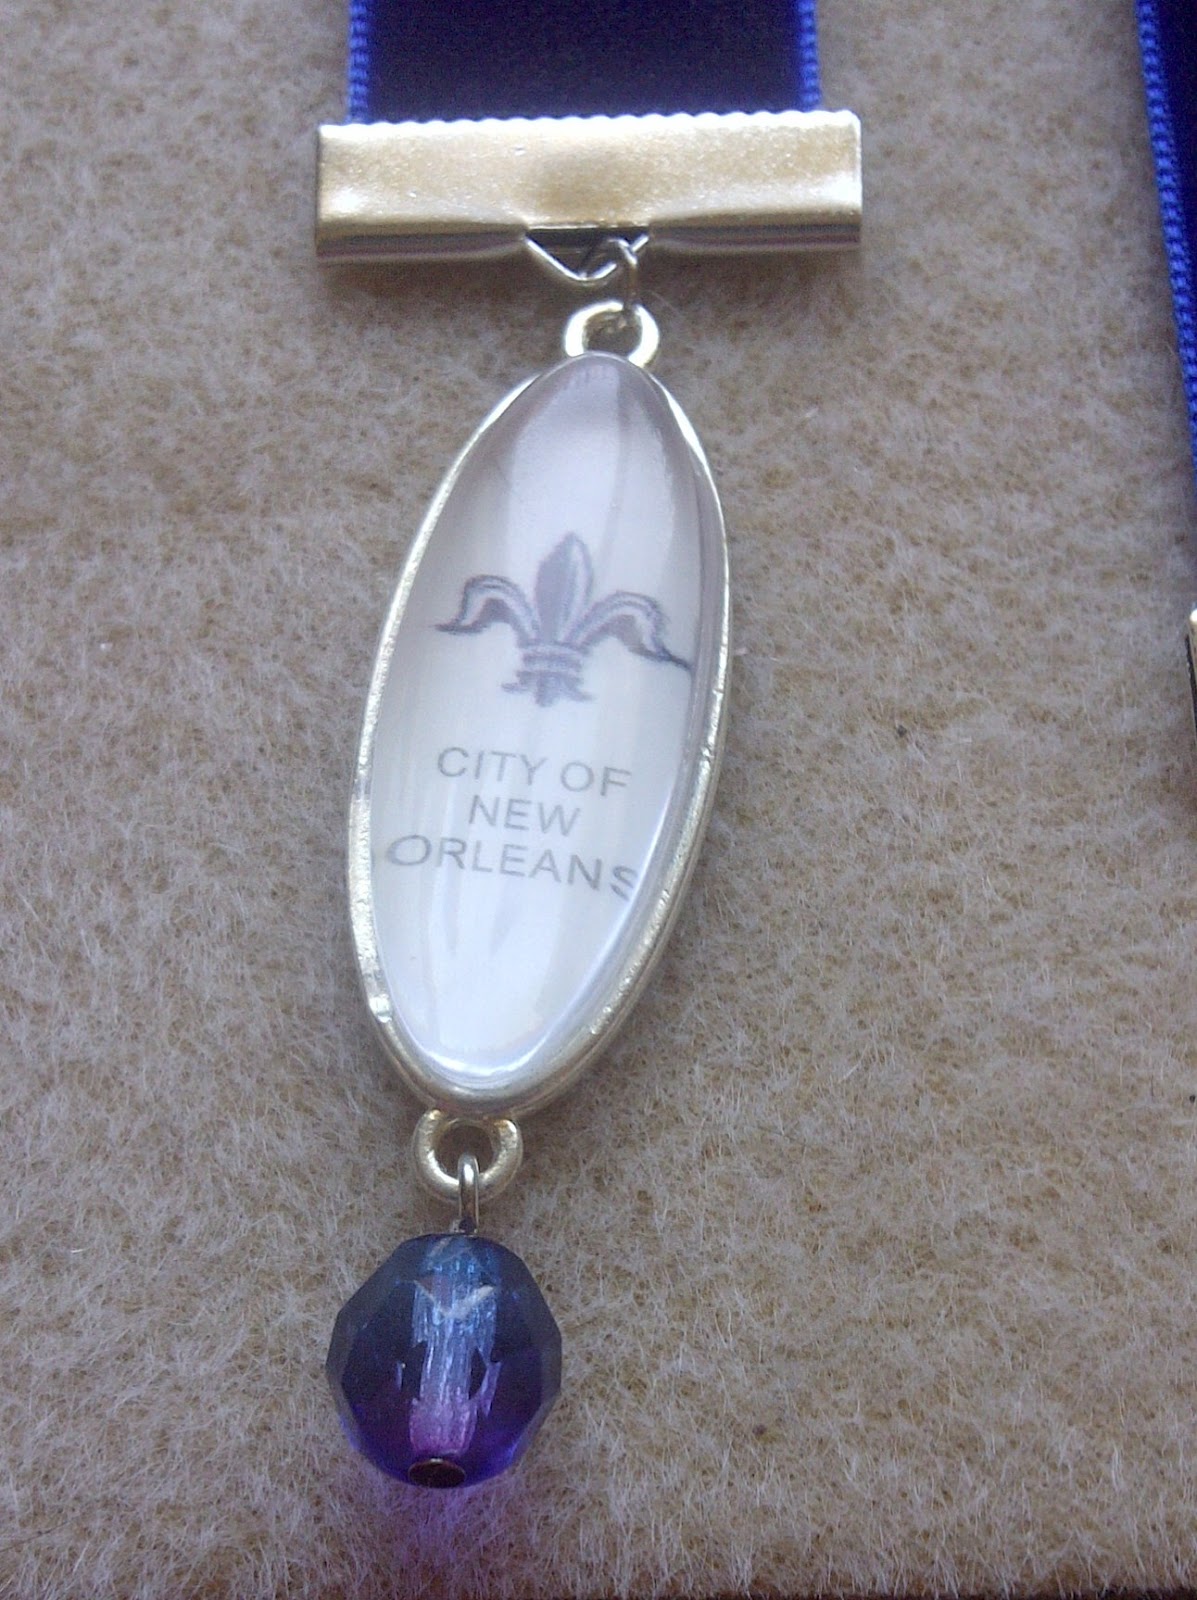
Ever since I decorated my bedroom in a very Victorian, vintage, french theme I have had a love of fleur-de-lis and very vintage looks. I did a they with that in mind. Also fleur-de-lis remind me of royalty from the medieval times, so there are a few with that theme in mind.
In the middle of making several of these bookmarks I realized that I could use these as birthday or Christmas gifts. I made a couple that I think I will give to my cousins, as they enjoy reading as much as me.
These are also a great way to use up some extra supplies you might have that you aren't entirely sure what to do with. I did that with a couple. Even made one to use during Christmas time.
I even got to try out making a flower petal pendant. It turned out pretty well.
In the process of making several of these bookmarks our cat Grace wanted to help and then that need turned to a need to be loved. This lead to her rubbing on my hands and pushing things a side until she could get spread out completely on my work desk.
Once she was satisfied that I had petted her enough to her content she allowed me to finish my projects. Granted it didn't stop her from trying to attach several of the bookmarks.
It could be possible that I'm one of the only people who do this... but I read several books at one time. I have a book at work; which I am using the flower petal bookmark with. There is a book I read before going to bed and I am using the light purple fleur-de-lis bookmark. I also have a book that I read just whenever I get bored doing something else, which is the book pictured above.
Reading helps to relax me. It informs me and allows me to be apart of another world. I would highly suggest reading to anyone. Reading is good for you and strengthens your mind. These bookmarks are a lovely and easy project to give a little extra personality to your chosen book.
The steps for this project can vary given the supplies you pick, and I'll explain both ways.
First: store purcased ribbons
Some stores (example: Michaels, Hobby Lobby) that sell ribbon strips that come with the ribbon clamps already on both ends.
If you use these type of ribbon, buy as many as you need color wise.
Jump rings to match the tone of the ribbon clamps.
Pendants you want to use.
Any pearls/gems you want to use.
Head pins to match same tone as jump rings.
Needle nose pliers
Wire cutters
Round nose pliers
Take your needle nose pliers to open the jump ring.
Slide the open jump ring into the hook at the end of the ribbon clamp at the end of the ribbon.
Then slide the pendant onto the other end of the open jump ring.
Use the needle nose pliers to close the jump ring.
This will be all you need for this end of the ribbon. (See picture)
(unless you would like to add more, then simply reopen the jump ring)
If you would like to add another pendant to the other end, simply follow the same directions for the other side. Be sure to pay attention to the direction the pendant on each end faces, or one might face the wrong way.
If you want to add a pearl/gem on the other end follow these steps.
Take a head pin and slide the pearl/gem on.
Use the round nose pliers to round out the end.
Cut the remaining head pin with the wire cutter.
*If you created a large enough loop at the end of the head pin you may connect the pearl/gem straigh to the end of the ribbon clamp instead of using the jump ring. (see picture)
Use the needle nose pliers to open a jump ring.
Slide the open jump ring onto the other end of the ribbon at the hook on the clamp.
Slide the rounded end of the head pin onto the open jump ring.
Use the needle nose pliers to close the jump ring.
Second: Making your own ribbon lengths.
Instead of using the store bought versions of ribbon you can make your own. This is helpful if you want to make ones that are specific for a book size. You get to make the length you want instead of the store bought one which is already at a specific length. (also the store bought ribbons tend to have creases from being on/in the packaging and ribbon on spools will not)
Ribbon spools in the colors you want.
Ribbon clamps
Jump rings to match the tone of the ribbon clamps.
Pendants you want to use.
Any pearls/gems you want to use.
Head pins to match same tone as jump rings.
Needle nose pliers
Flat nose pliers
Wire cutters
Round nose pliers
Measure out the length of ribbon you want and cut.
Hold the ribbon in place with one hand and with the other use the flat nose pliers to clamp down the ribbon clamp. (Best to clamp the sides in a little before hand, then slide the ribbon into place. Continue to clamp the sides down first to hold it in place.)
Take your needle nose pliers to open the jump ring.
Slide the open jump ring into the hook at the end of the ribbon clamp at the end of the ribbon.
Then slide the pendant onto the other end of the open jump ring.
Use the needle nose pliers to close the jump ring.
This will be all you need for this end of the ribbon. (See picture above of the pendant)
(unless you would like to add more, then simply reopen the jump ring)
Repeat this step for other end of ribbon:
Hold the ribbon in place with one hand and with the other use the flat nose pliers to clamp down the ribbon clamp. (Best to clamp the sides in a little before hand, then slide the ribbon into place. Continue to clamp the sides down first to hold it in place.)
If you would like to add another pendant to the other end, simply follow the same directions for the other side. Be sure to pay attention to the direction the pendant on each end faces, or one might face the wrong way.
If you want to add a pearl/gem on the other end follow these steps.
Take a head pin and slide the pearl/gem on.
Use the round nose pliers to round out the end.
Cut the remaining head pin with the wire cutter.
*If you created a large enough loop at the end of the head pin you may connect the pearl/gem straigh to the end of the ribbon clamp instead of using the jump ring. (see picture above of the pearl)
Use the needle nose pliers to open a jump ring.
Slide the open jump ring onto the other end of the ribbon at the hook on the clamp.
Slide the rounded end of the head pin onto the open jump ring.
Use the needle nose pliers to close the jump ring.
I hope you create some of your own lovely ribbon bookmarks!
Monday, May 21, 2012
Gifts for the Mom of my world!
Been several days since Mother's Day, but I wanted to show you all what I made for the best mother in the world (to me).
Mom had commented several times at Michaels that she liked these "bracket" designs. I took that as a pretty good sign that she would like what I had in mind to make.
I made the purple one first. I used two different size and color beads to act as spacers in between.
I did 5 big beads and 4 small seed beads in between each bracket. Makes for a more detailed look.
The brackets require a two wires to keep them flat, so I used a two prong slide in clasp.
I also got another set of "bracket" designs that has butterflies on either side. They are gold and copper, which is mom's favorite color next to blue. I found two very good different types of copper toned beads for the in between spaces.
The beads work great with the brackets. The only bad part of the copper bracelet is the slide clasp doesn't come in any other color, so it stands out.
I think they both worked out great. Mom loved them, so that made my day... as well as hers.
Monday, September 12, 2011
Since I like making things for people I decided to make something for a friend of mine. She is a bit odd, so it looks a little strange maybe, but I think she will like it alot. It reminds my mother of those African tribe teeth necklesses.
I took black round pearls in medium and large sizes, red spear beads, and blood red oval beads.
I used the same wire clamp and wire as the Chinese bead bracelets. I also used the same needle nose pliers, wire clamp pliers, and wire cutters.
-Basically I laided out the beads to find a pattern that I liked. Took me a day to get a pattern using all the beads I wanted. *tip* This is something that you should ALWAYS do ahead of time. Saves a lot of time and anger.
-Take the wire clamp and put that on one end of the wire and then loop the end back through the wire clamp. Tighten the loop to the size you want and then use the clamp pliers to tighten the clamp.
(you can put a lobster clip on if you intend to make the entire neckless out of beads, but I did not just yet)
-Start stringing the beads in the pattern you had decided. In my case I wanted to do about 9 inches of black beads and red spear beads. I then did the blood red beads and the red spears for the middle section. The remaining half was done the same way with the black beads.
-Once you have finished stringing the beads thread on the clamp and loop the wire threw the clamp to create another loop. Use the clamp pliers clamp down to finish the loop.
-I choose to not put a clip on the wire loop, but instead to use about 7 inches of chain to link to the loop created. I did this again to the other side. It can make the neckless longer and that was my goal.
-I finally attached the lobster clip to one end of the chain.
I thought it might seem plain and not complete with out earrings.... mostly I always think that. LOL
-I took one red spear and a eye pin and shaped it into a triangle and then wrapped one end around the top of the triangle.
-I cut a strip of chain 3 inches long and at the bottom attached the red spear eye pin.
-Attach the other end of the chain to the earring.
-Take 4 head pins and 4 of the blood red beads. Take each one and create an eye pin from the tip of the head pin.
-Take 2 of the eye pins and count 3 links up and attach both of the eye pins with the blood red beads.
-Repeat the remaining 2 eye pins and count 3 more links up and attach them both.
-Repeat these steps for the other earring.
I think the pair looks pretty good together. The earrings really seem to complete the over all look.
I hope the tutorial works well for you all and that you will show me your creation.
Wednesday, August 17, 2011
Never ending baby blanket
One of my friends was going to have a baby and she wanted it to be a surprise, so she wanted general items. This is rather hard to do now days. It seems the world is content to deal with boy or girl and nothing inbetween. Since I am a lover of all things thrift I went to the ARC stores and got her about 10 items that would be great for a boy or girl. I wanted to add a little something personal to the gifts, so I started knitting a baby blanket.
Now I started knitting about a year ago and I have done mostly scarves for myself and one for a friend (which I believe I posted on here). I recently tried a jacket for my new cousin Liam and it turned out pretty well, but it took me 6 months because I'm still new at it. This blanket has taken me WAY longer and its only about half way finished! I wasn't able to give it to her at the shower, so I had planned to give it to her when they baby was born, which has already happened. (She had a little girl.) SO my NEW plan is to give it to them at Christmas. (Christ almighty it better be done by then!)
Now at the time I started this no one knew what she was having, so I picked what I thought was a very general stripe yarn. I thought it would be good for a boy and still fit a girl. Ironically now that I look at it I think it fits a girl more, but hey who cares cause she had one! (thank you!)
I have already gone through one ball of yarn and about half way through the second one. I have a third in my knitting bag, so I seriously hope that is all I need. Originally when I started this I thought I would only need two (not a good thought on my part), but I went with smaller needles so I screwed myself a little there. The yarn I picked is still available at several stores, but the dye lot is not the same, so the ball I'm on now is the wrong dye lot. I figure if its in the middle it will look more like I planned it to be a slightly different shade. The bottom and top part are the same dye lot, so I should be ok to make it work out.
Now I started knitting about a year ago and I have done mostly scarves for myself and one for a friend (which I believe I posted on here). I recently tried a jacket for my new cousin Liam and it turned out pretty well, but it took me 6 months because I'm still new at it. This blanket has taken me WAY longer and its only about half way finished! I wasn't able to give it to her at the shower, so I had planned to give it to her when they baby was born, which has already happened. (She had a little girl.) SO my NEW plan is to give it to them at Christmas. (Christ almighty it better be done by then!)
(you can see Stue lying next to me ready to attach any stray yarn... which I oh so love... NOT)
The first ball made great stripes, but the second one seems to be making misplaced stripes. I must have done it differently when I started the first one, but I honestly don't remember doing anything special. At this point I will chalk it up to it being the middle section and it just gets to be a bit odd. I will have to work harder on the last one to make it be more striped again.
I work on it for about 30 minutes to an hour each morning before work. Some nights I work on it to help me relax and sleep. On my days off I still work on it in the morning, but thats about it. I tend to work on other projects, as I currently have several going. I love how I do that to myself. Silly me!
Labels:
baby,
blanket,
dye lot,
gifts,
hobby lobby,
knitting,
projects,
thrift stores,
yarn
Subscribe to:
Posts (Atom)