
Supplies:
Fabric
Flower template
Scissors-small ones are best for the corners, but big ones are best for thicker fabric
Glue gun or fabric glue if you like
Pins
Needle
Thread
Button to cover, or just a regular button
Hair clip
Pin back
Felt- just a small piece
Feathers (optional)
These are the supplies I will be using.


I use these from time to time, but this one will be a smaller slide clip.
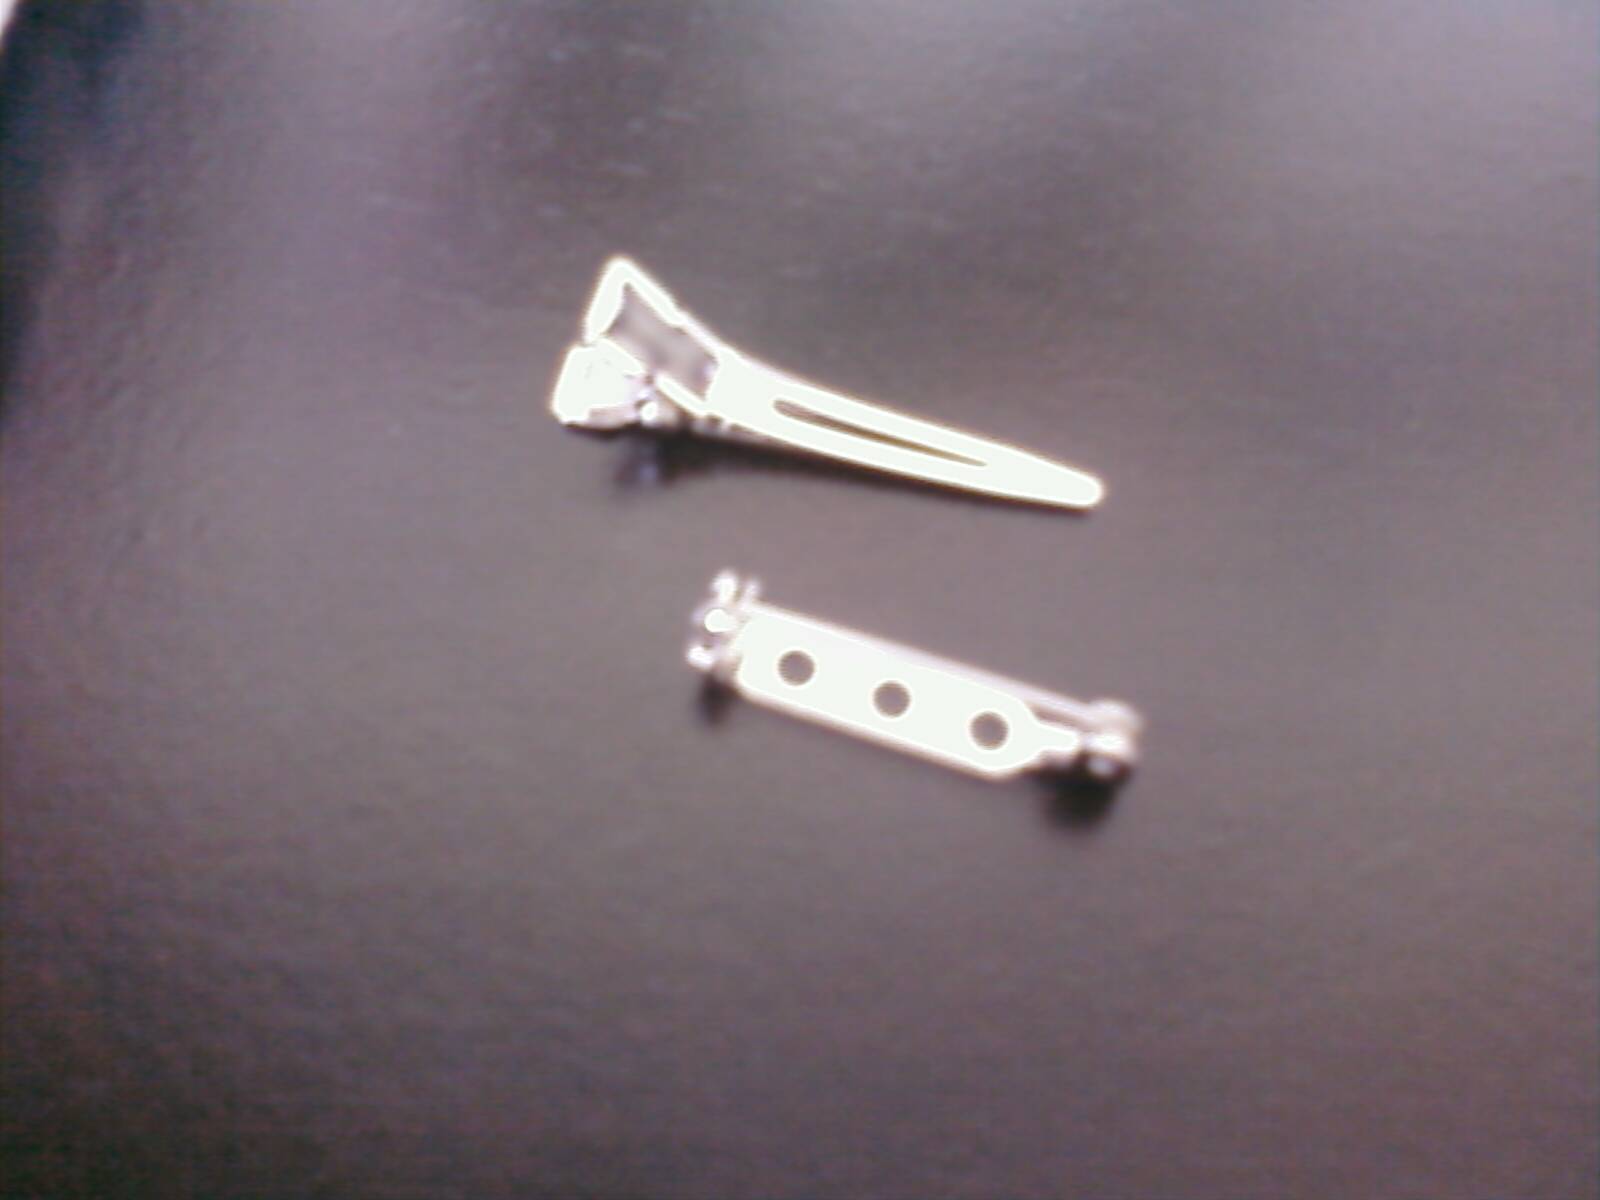
This is the slide clip I will be using. Normally I would do both the clip and the pin, but I will not for this particular flower.

Fabric covered buttons are my favorite to use normally.

Plastic button work just as well, and that is actually what I will be using on this one.

Its best to match the thread as much as possible to the fabric to blend better.


Once you have printed the flower template, cut out the two pieces. Do NOT cut along the dotted lines just yet. The large flower will be used twice and the smaller flower will be used 4 times. I will be using the smaller template 2 additional times to add some detail.

Pin the large template to your fabric and cut it out.
TIP: layer the fabric and then pin. This will allow you to only have to cut out the large flower once, but will still give you the two needed.


Once you have them cut out, cut along the dotted lines to allow the flower to 'flap' around.


Now take one of the large flowers and lay it over the other. I try to not a line the cut marks with each flower, but instead a line them opposite of each other. This allows the flower to move around more freely.

Set the two large flowers aside. Pin the small flower template to the fabric and cut it out 4 times.
TIP: Fold the fabric over again and then pin the template down. This will save time by cutting out all 4 at the same time.


Once all 4 of the small flowers have been cut out take just one small lower and fold it in half.


I will be adding two more small flowers cut from tulle to add a little detail to my flower.


Now its time to sew the four "petals" in place (or 6 in my case). Using a thread that matches as close as possible to the fabric sew the tips of the "petals" down to the large flowers. Then sew one "petal" to the next petal to insure that they stay in place.


Once you feel the "petals" are secure tie off the thread. Now we need to sew on the button. I'm using a rounded pearl plastic button. If using a regular button you may glue it down. I would suggest sewing it on instead because the glue can tend to spread. The back should look a little pinched together as you start to pull the button tighter onto the flower.


If you haven't already cut a small piece of felt, do so now. I will only be using a slide clip for this flower, so my felt piece is not as large as I would normally make it. If I was adding a pin back as well I would want the felt piece to be a bit bigger.
Clip the hair clip to the felt piece and then use the glue gun to glue one side of the clip to the felt.
TIP: If you were also adding a pin back I would suggest sewing the pin to the felt as well as gluing it into place. This allows it to be more secure.


Now place a small amount of glue on the back of the flower (about the size of your felt piece) and place the felt piece on the back of the flower. Make sure that you place the side you glued the clip onto the felt on top of the glue you placed on the back of the flower. Other wise you will not be able to open the clip.

Your fabric flower is now finished! This project takes very little time or effort, which is why I love it and use it so often. This particular clip is going to be for my headbands. (but it can be used as just a hair clip, clip to clothing, or even clip it on a pair of shoes)


I have made several of these flowers. I made a set of them to wear on a cardigan for Christmas this year.


Found template from Wise Craft.
No comments:
Post a Comment